Microsoft PowerPoint

Microsoft PowerPoint is one of the most popular presentation software. It comes with Microsoft Office Package or standalone and is developed by Microsoft Corporation. It is designed to provide help in organizing and presenting information. The latest perpetual version is Microsoft PowerPoint 2024, while Microsoft 365 serves as the subscription-based version. It is available for Windows, Mac, Android, and iOS.
We come across PowerPoint presentations everywhere, from the largest companies using it for presentations to primary school teachers sharing their lessons with the help of it.
Microsoft PowerPoint enables you to present your ideas, thoughts, and concepts with the help of different colors, text and graphics in the form of presentation. Presentation is nothing but is a collection of slides. Each slide consists of a small portion of information. You can present information on each slide with the help of bullets, charts, tables, pictures, audio/sound clips, video clips, and different business diagrams.
The combination of such slides eventually helps you in explaining your point in oral presentations. The PowerPoint presentation can be displayed for large audiences with the help of large screens or projectors. It can also be shared in the form of handouts or as outlines.
Now let’s talk about the user interface of Microsoft PowerPoint. If you’re a beginner and see it for the first time, it might overwhelm you a little bit because there are too many options listed together. Well, if that’s the case for you; don’t worry! You’re in the right hands. We got all your questions covered in this article. Here’s a brief explanation of all the most commonly used features for you. So, let’s get started.
Microsoft PowerPoint terminologies
The following picture shows the interface of Microsoft PowerPoint 365. Don’t have a PowerPoint legit copy? Get one here.
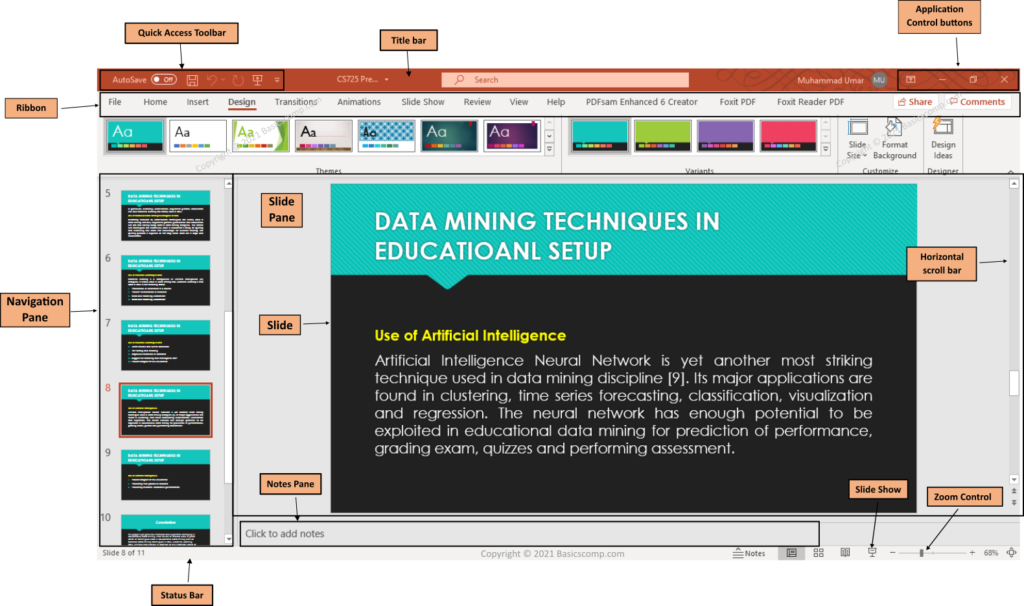
- Title bar: The title bar is the first bar that contains application and presentation name. It also displays currently logged in user. In addition to this, the new and interesting feature available on the title bar is “Search” option through which a user can look for different options and commands. Anyhow, this is limited to Office 2019 or later version.
- Quick Access Toolbar: It is present on the left corner of the title bar (which is the topmost bar in Microsoft PowerPoint). The quick access toolbar’s layout is almost the same for all the Microsoft applications and its functionality is also identical. Do you want to see an example? Go check our article on Microsoft excel https://basicscomp.com/microsoft-excel/
- Application Control buttons: These buttons are present on the left side of the title bar and again have the same functionality for all Microsoft applications. It enables you to adjust the application behavior, the way you want. Using application control buttons, a user can minimize, maximize and close the application.
- Ribbons: As we said in our other article, the ribbon is the powerhouse of all Microsoft applications. It consists of a series of tabs that enables you to perform different operations on the slides. Each tab further contains different features, we’ll explain them one by one.
a. File Tab: It is the first tab in the ribbon. It holds features that permit you to save, share and export your presentation. It’s the second most commonly used tab on the ribbon.
b. Home Tab: This tab has the most commonly used features. It empowers you to add a new slide, adjust the size, justify the text, manipulate the slide, font, and paragraph settings, draw shares, arrange them, and set the layout. In short, this tab does justice with the word “Home”. How? Well, because you spend most of your time while making a presentation. Therefore, it feels like ‘home’ nonetheless.
c. Insert Tab: As the name suggests, it helps to insert different content in your slides. For instance; pictures, text boxes, header footer, external links, shapes, tables, and comments. Hence; if you want to insert anything, now you know where to go!
d. Design Tab: Again as the name follows, it helps you in designing your presentation. It entitles you to different themes and styling options which eventually helps you in making your presentation visually appealing.
e. View Tab: It enables you to choose, how you want to see your presentation. The most commonly used features in this tab are these three views:
i. Normal view: You can see one slide at a time with the help of it and make changes in it.
ii. Slide sorter view: It empowers you to sort different slides, by showing the thumbnails only. So with the help of it, you can easily choose the order of your slides. For example, what comes first, second and so on…
iii. Reading view: This feature enables you to fully concentrate in case you’re reading the slide. It zooms the slide and blackouts the rest of the screen. Therefore, you don’t face any distraction white reading a slide.
f. Transition Slide: It gives you the power to make your presentation look attractive in front of your audience with the help of different visual effects. What it effectively means is that when one slide moves to the next one, the change occurs in the form of an effect. There are certain options for effects like wipe, fade, cut, split, push etc. It helps to keep the audience connected with your presentation.
g. Slideshow Tab: This tab helps you to set up your presentation delivery speed. You can set the time after which you want to change the slide automatically. You also decide whether you want to start the slideshow from the beginning or from the current slide.
h. Animation Tab: This tab helps you to customize the content of a slide. It enables you to decide how the different graphics like pictures/videos, bullets, tables appear on the screen during the presentation, you can apply different effects on each part of your content present on your slide. For instance, fade, fly-in, float-in, split and wipe, etc. are the most commonly used effects.
i. Review Tab: Enables you to check your spelling and grammar mistakes, if any. It links you to Thesaurus as well. Also, this tab gives you language and translation options. - Navigation Pane: It shows thumbnails of slides for easy switching. A user can use the vertical scroll bar to see other slides in the presentation.
- Slide pane: It is the main portion of the PowerPoint windows which contains all slides available in the current presentation.
- Slide:
In Microsoft PowerPoint, a single page is referred to as a slide whereas a collection of slides is called a presentation. A slide is used to display text, picture, shape, or video. - Notes pane: It is located just below the slide pane and is used to type reference notes for each slide.
- Horizontal Scrollbar: It is available in the Slide Pane for scrolling up or down in order to see other slides.
- Slide Show: The Slide show button is located on status bar next to “Control Zoom”. It is used to quickly start a presentation on fullscreen. The interesting thing is that it plays the presentation from the current slide.
- Status bar: It is located at bottom of the Microsoft PowerPoint windows. It shows various information.
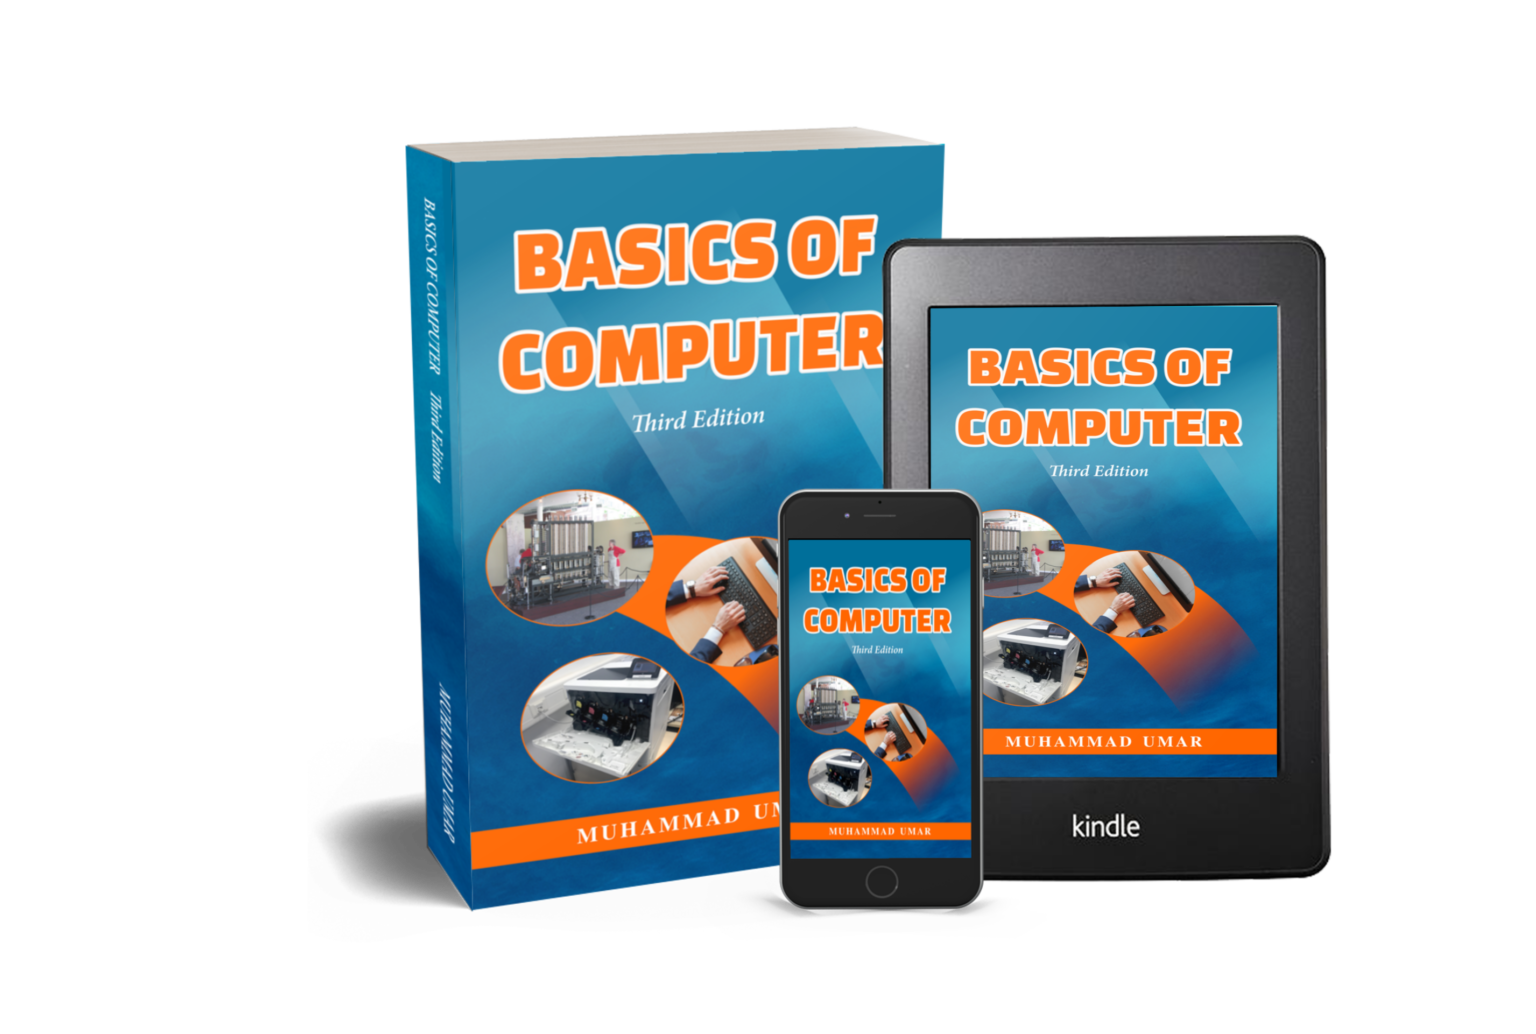
I hope this article gives you enough understanding of Microsoft PowerPoint. In case you want to learn basics about Microsoft Word or Excel with practical applications, you can consult our book, “Basics of Computer”.
Quick Summary Checklist
| Task |
Shortcut / Location
|
| New Slide | Ctrl + M |
| Start Presentation | F5 |
| Save File | Ctrl + S |
| Insert Image |
Insert Tab > Pictures
|
Key Resources to Explore
To further your tech education, check out our other guides:
-
Unlock Microsoft Windows Power: Learn to navigate your computer more efficiently.
-
Basics of Computer: Explore our full library of tutorials for beginners and professionals alike.
Related Posts
Learn more MS Office Concepts
Interesting Stuff in your Inbox
Subscribe to our mailing list to get interesting stuff and updates right in your email inbox. Promise, we will never sell your info to any third party.
Basics of Computer By Muhammad Umar
Basics of Computer, Third Edition, eradicates any intimidation about the computer. With a minimal investment of time, you’ll soon be able to understand basic concepts and perform simple tasks on your computer.
![]()
Recent Posts
Ask a Question
Do you have any questions? Rest assured, we're here to provide answers. Join us in our forum where you can engage in fruitful discussions, ask your queries, and receive insightful responses from our esteemed authors and community members. We look forward to your active participation and valuable contributions as we collectively explore various topics. Let's come together and share your thoughts!
![]()